It is a frustration known to almost every home cook: You purchase a premium bag of aromatic Jasmine or long-grain Basmati, meticulously follow the water-to-grain ratio printed on the back of the package, and set the timer. Yet, when the lid is lifted, the result is a disheartening, gelatinous block of white starch rather than the distinct, fluffy mounds served at your favorite bistro. This culinary gap is rarely about the price of your rice cooker or the specific brand of grain; it comes down to a microscopic layer of dust sitting on the surface of every kernel.
There is a specific, non-negotiable habit that separates restaurant-quality sides from amateur attempts, and it happens before the heat is ever turned on. While many skip this step to save three minutes, culinary science dictates that removing excess surface starch is the only way to prevent gelatinization, the chemical process that turns individual grains into glue. To master White Rice, one must embrace the friction of the rinse until the water runs completely clear.
The Chemistry of Clumps: Why Surface Starch is the Enemy
To understand why washing is mandatory, we must look at how white rice is processed. When the grain is milled to remove the brown husk and bran layer, the intense friction creates a fine dust of loose starch that clings to the surface of the white kernel. In the culinary world, this is known as "surface starch." If this dust enters the cooking pot, it instantly hydrates in the boiling water to form a thick, starchy paste that coats every grain, effectively welding them together.
There are two primary types of starch molecules within the grain: Amylose and Amylopectin. Amylose helps grains stay separate, while Amylopectin promotes stickiness (desirable in sushi rice, but disastrous for pilafs). However, the surface dust is purely unstructured debris. Expert analysis confirms that rinsing does not affect the internal nutrient profile significantly but drastically alters the physical texture of the final dish.
Comparison: The Impact of the Rinse
The difference between a rinsed and unrinsed batch is not subtle; it is structural. The table below outlines exactly how skipping this step degrades the dining experience.
| Feature | Unwashed Grain (The Amateur Mistake) | Thoroughly Washed (The Pro Standard) |
|---|---|---|
| Texture | Gummy, cohesive, heavy | Individual, light, fluffy |
| Appearance | Glossy sheen, clumped mass | Matte finish, distinct kernels |
| Aroma | Heavy, starchy smell | Clean, floral, nutty nuances |
| Best For | Risotto (specifically Arborio) | Side dishes, Fried Rice, Curry bases |
Once you understand that the surface dust is essentially a thickening agent you didn’t ask for, the necessity of the rinse becomes clear; however, the temperature of the water used during this process plays an equally vital role in the outcome.
The Scientific Protocol: Agitation and Hydration
- Extra virgin olive oil turns instantly bitter when searing traditional fajita vegetables.
- Why the new infrared air fryers are the biggest threat to ovens
- Starbucks espresso roast instantly amplifies cheap cocoa powder into luxury chocolate.
- Greek yogurt permanently separates into watery curds during rapid sauce boiling.
- Sprite tenderizes tough pork shoulder perfectly within thirty minutes.
The Step-by-Step Dosing Guide
For the average household batch (2 cups of dry rice), follow this strict protocol:
- The Vessel: Place rice in a fine-mesh sieve set inside a larger bowl. Do not wash directly in the cooking pot if possible, as it makes draining difficult.
- The Temperature: Use cold water (below 68°F). Warm water will begin to precook the outer layer of the rice, leading to uneven texture.
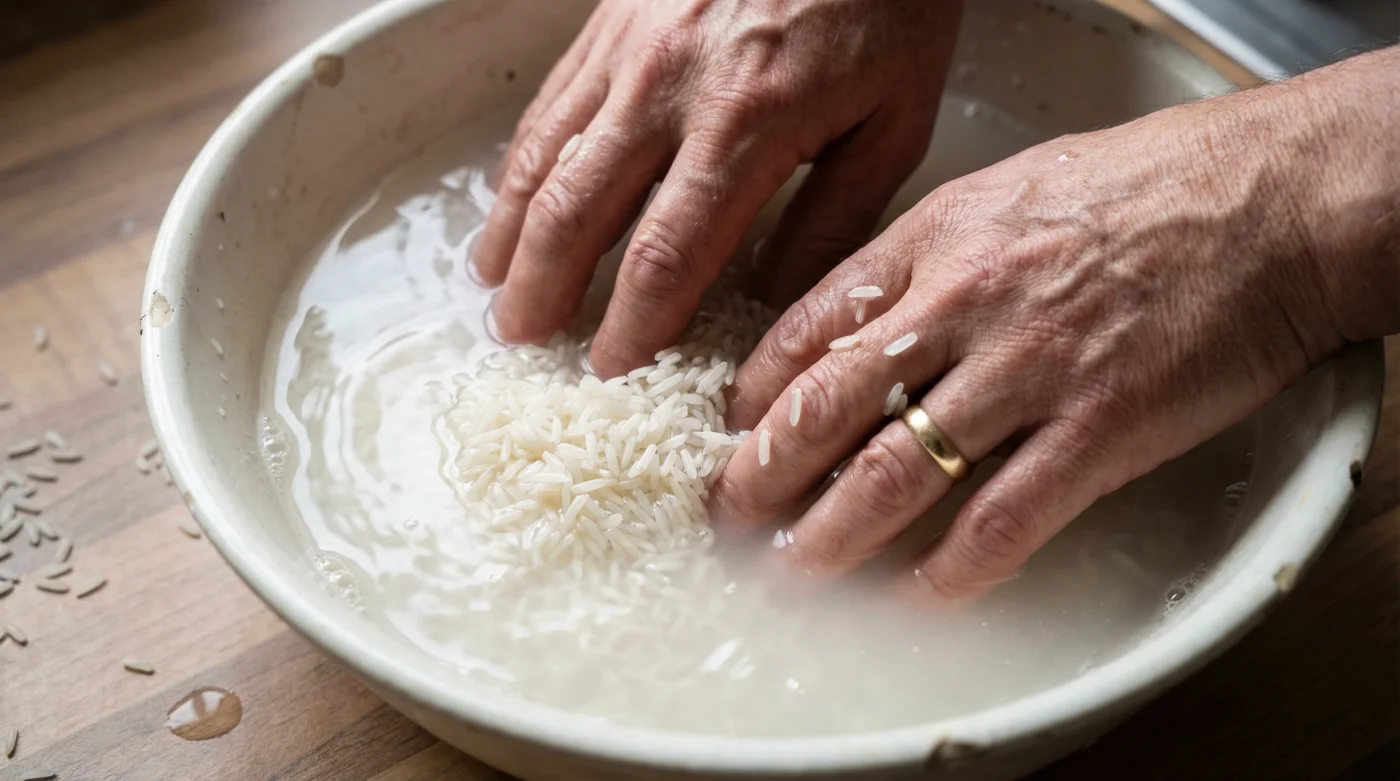
- The Agitation: Submerge the rice. Use your fingers to gently swirl the grains in a circular motion (the "claw" hand technique). The water will turn milky white immediately.
- The Repetition: Drain and repeat. This usually requires 3 to 5 changes of water. You are looking for the water to run clear enough to see your fingers through it clearly.
| Rice Variety | Water Ratio (After Washing) | Approx. Cook Time | Resting Time |
|---|---|---|---|
| Long Grain White | 1 Cup Rice : 1.5 Cups Water | 15-18 Minutes | 10 Minutes |
| Jasmine | 1 Cup Rice : 1.25 Cups Water | 12-15 Minutes | 10 Minutes |
| Basmati | 1 Cup Rice : 1.5 Cups Water | 15-20 Minutes | 15 Minutes |
| Sushi (Short Grain) | 1 Cup Rice : 1.1 Cups Water | 15-18 Minutes | 10 Minutes |
It is crucial to note that washing rice hydrates the grains slightly before cooking begins. Therefore, you may need to reduce your cooking water by a tablespoon or two compared to unwashed rice instructions, preventing a mushy final product.
Troubleshooting the Pot: A Diagnostic Approach
Even with proper washing, variables in humidity, elevation, and equipment can alter the outcome. Culinary professionals use a diagnostic approach to identify what went wrong based on the specific symptoms of the finished dish.
Common Symptoms and Causes:
- Symptom: Crunch in the Center.
Diagnosis: Undercooked. The water evaporated before the heat penetrated the core of the kernel.
Fix: Add 2 tablespoons of hot water, cover tightly, and steam on low for 5 more minutes. - Symptom: Mushy/Watery Bottom.
Diagnosis: Oversaturation. Too much water was used, or the rice was not drained properly after washing.
Fix: Uncover the pot to let excess steam escape. Fluff gently with a fork. - Symptom: Burnt Layer (Scorched).
Diagnosis: High heat. The sugar and starch carbonized before the water absorbed.
Fix: Use a heavy-bottomed pot and lower the heat immediately after the boil is reached.
While technique is paramount, the quality of the raw ingredient sets the ceiling for how good your dish can be; knowing how to select the right bag is the final piece of the puzzle.
The Quality Hierarchy: What to Look For
Not all bags of White Rice are created equal. In many US grocery stores, lower-quality brands include a high percentage of broken grains. These broken grains release starch more aggressively than whole kernels, sabotaging your efforts even if you wash them perfectly. When shopping, inspect the bag’s clear window carefully.
| Factor | High Quality (Buy This) | Low Quality (Avoid This) |
|---|---|---|
| Grain Integrity | Uniform length, barely any broken tips | Chalky residue visible, jagged/broken bits |
| Color | Translucent, glass-like (for Jasmine/Basmati) | Opaque white spots (chalky kernels) |
| Harvest Date | "New Crop" (More moisture, sweeter) | No date listed, or dusty packaging |
The Final Essential Step: The Steam
Once the timer goes off, resist the urge to serve immediately. Remove the pot from the heat source but leave the lid on. This 10-minute resting period allows the moisture to redistribute evenly throughout the pot. If you scoop immediately, the bottom layer will be wet while the top is dry. The steam finishes the process, ensuring that the work you put into washing the starch results in the perfect, restaurant-quality texture you crave.
Read More